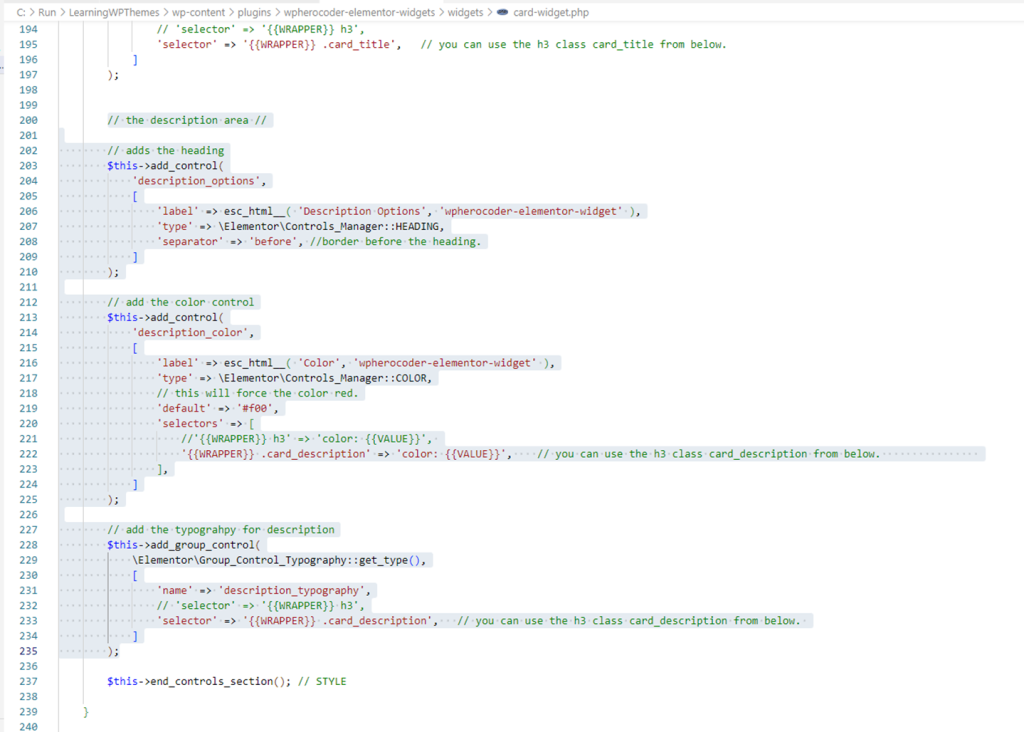
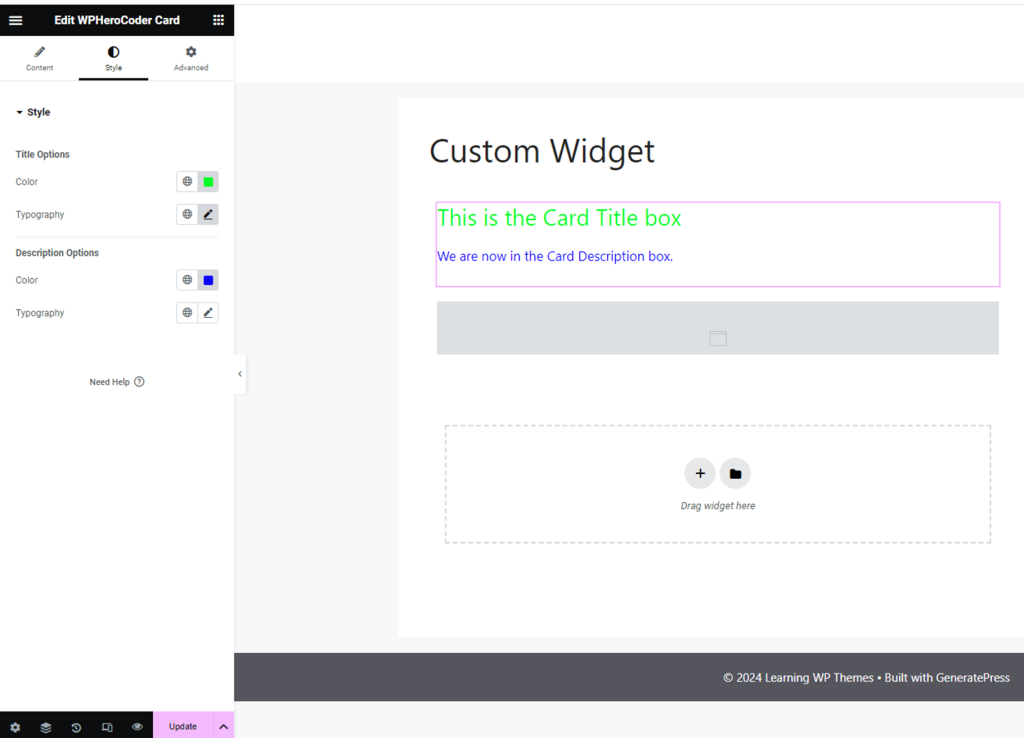
Now we are going to code the description area of the Elementor widget.
// the description area //
// adds the heading
$this->add_control(
‘description_options’,
[
‘label’ => esc_html__( ‘Description Options’, ‘wpherocoder-elementor-widget’ ),
‘type’ => \Elementor\Controls_Manager::HEADING,
‘separator’ => ‘before’, //border before the heading.
]
);
// add the color control
$this->add_control(
‘description_color’,
[
‘label’ => esc_html__( ‘Color’, ‘wpherocoder-elementor-widget’ ),
‘type’ => \Elementor\Controls_Manager::COLOR,
// this will force the color red.
‘default’ => ‘#f00’,
‘selectors’ => [
//'{{WRAPPER}} h3′ => ‘color: {{VALUE}}’,
‘{{WRAPPER}} .card_description’ => ‘color: {{VALUE}}’, // card_description color.
],
]
);
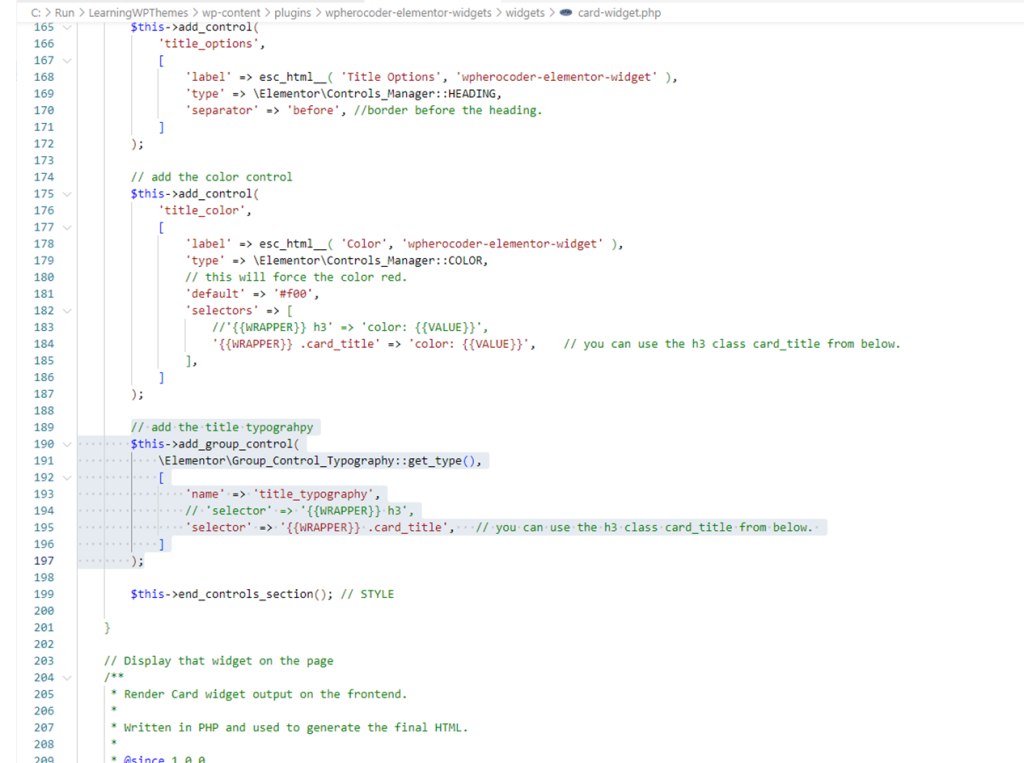
// add the typogrhphy for description
$this->add_group_control(
\Elementor\Group_Control_Typography::get_type(),
[
‘name’ => ‘description_typography’,
// ‘selector’ => ‘{{WRAPPER}} h3’,
‘selector’ => ‘{{WRAPPER}} .card_description’, // card_description typography.
]
);
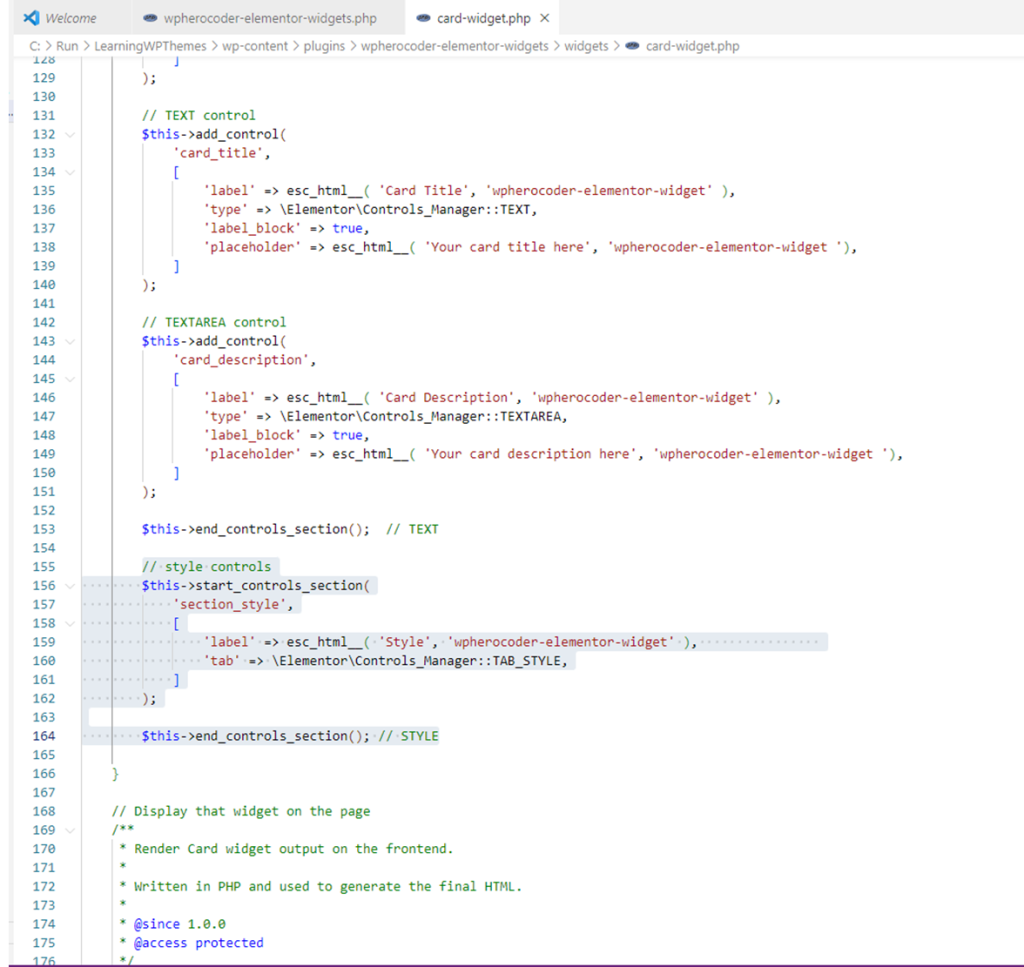
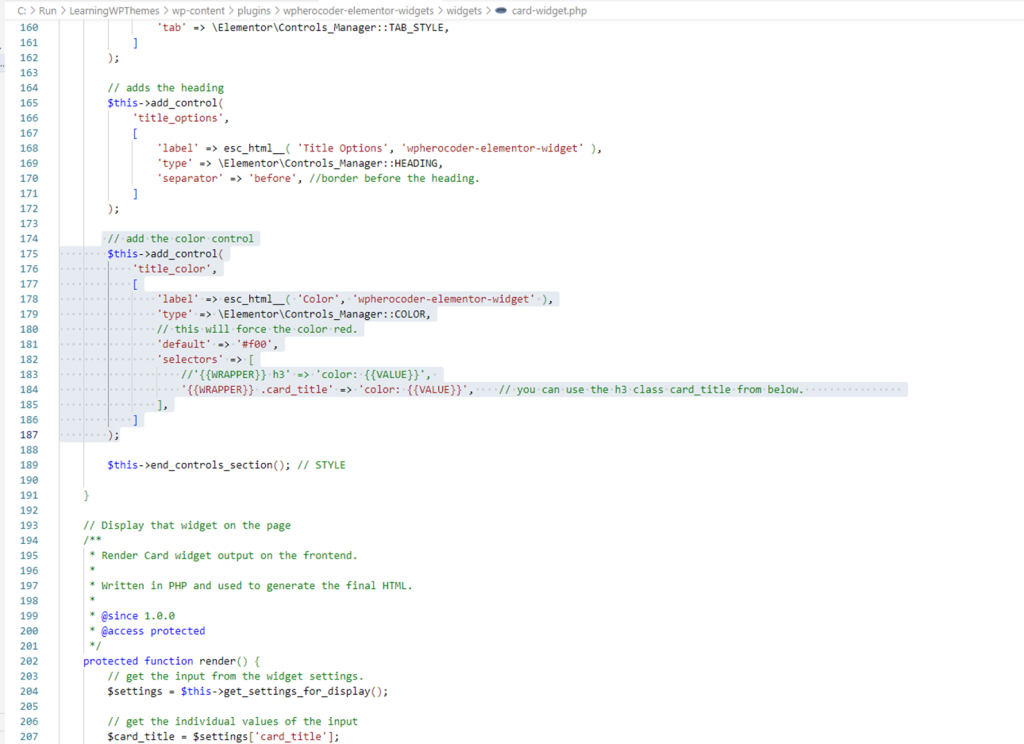
Here is what we have so far in code editor.